さくらVPSでスタートアップスクリプトを使用して簡単に構築したSSL環境にLaravelをインストールする
◎事前準備
- 下記「さくらVPS【SSL】」に記載の手順で、nginxを使用したLAMP環境を構築しました。
-
Laravelが使用するphpの拡張モジュールが入っているかどうかを確認しました。
# php -m | grep -e openssl -e PDO -e mbstring -e tokenizer -e ^xml$ -e ctype -e json -e bcmath
ctype
json
mbstring
openssl
PDO
tokenizer
xml
- bcmathという拡張モジュール(php-bcmath)が入っていなかったので、yumでインストールしました。(Windows 版の PHP には、この拡張モジュールのサポートが組み込まれています。)
# yum install --enablerepo=remi-php73 php-bcmath
# php -m | grep -e openssl -e PDO -e mbstring -e tokenizer -e ^xml$ -e ctype -e json -e bcmath
bcmath
ctype
json
mbstring
openssl
PDO
tokenizer
xml
- 念のために’php-fpm’と’nginx’を再起動しました。
# systemctl restart php-fpm
# systemctl restart nginx.service
◎Composer のインストール(「さくらVPS【SSL】でCakePHP」で実施済み)
- さくらVPSにsshでユーザーログインし、「composer」をインストールしました。
$ curl -sS https://getcomposer.org/installer | php
- パスが通るように「/usr/local/bin/」以下に「composer.phar」を移動しました。
$ su
Password:
# mv composer.phar /usr/local/bin/composer
- 動作確認を兼ねて、composerをアップデートしました。
# composer self-update
You are already using composer version 1.8.6 (stable channel).
◎Laravel5.8 のインストール
- Laravel5.8 のインストール用に「/var/www/larabel」フォルダを作成しました。
# cd /var/www/
# mkdir laravel
- 「/var/www/laravel」フォルダに移動して laravel5.8 を「/var/www/laravel」以下にインストールしました。
# cd laravel
# composer create-project --prefer-dist laravel/laravel ./
:
Application key set successfully.
-
ストレージとキャッシュフォルダの権限を書き込み可能(777)に変更しました。
# chmod -R 777 ./storage/
# chmod -R 777 ./bootstrap/cache/
- 上手くインストール出来たかどうかのテストを兼ねて、テスト用サーバーを起動してみました。
# php artisan serve
Laravel development server started: <http://127.0.0.1:8000>
^C
#
◎Nginxの設定
- 「/etc/nginx/conf.d/」以下にある「default.conf」と「https.conf」の記載を下記のように変更しました。
# cd /etc/nginx/conf.d/
# nano default.conf (または https.conf)
- 「default.conf」と「https.conf」の「location /{…}」「location ~ \.php$ {…}」他(「location = /50x.html{…})にあるrootの記述を「/var/www/laravel/public」に変更しました。
location / { # root /usr/share/nginx/html; # root /var/www/html; root /var/www/laravel/public; index index.html index.htm; } - 「default.conf」と「https.conf」の「location /{…}」に「try_files $uri $uri/ /index.php?$query_string;」という記述を追記しました。(全てのリクエストがindex.phpフロントコントローラへ集まるようにするため)
location / {
    # root /usr/share/nginx/html;
    # root /var/www/html;
    root   /var/www/laravel/public;
    index  index.html index.htm;
    try_files $uri $uri/ /index.php?$query_string;
}
- 「default.conf」と「https.conf」の「location /{…}」「location ~ \.php$ {…}」他(「location = /50x.html{…})にあるrootの記述を「/var/www/laravel/public」に変更しました。
- nginxを再起動しました。
# systemctl restart nginx.service
-
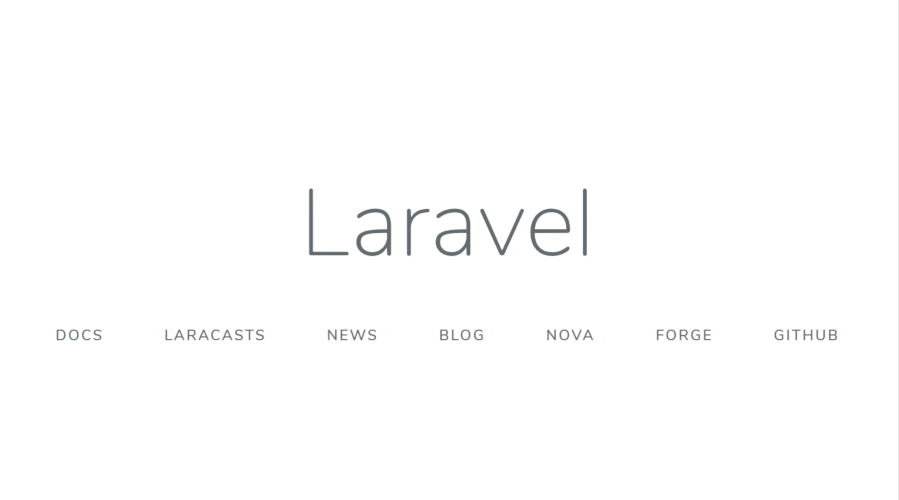
「https://(サーバーのURL)/」にアクセスして、下記のスタートページが表示されることを確認しました。

◎タイムゾーンとロケールの設定
- 「config/app.php」に記載されているタイムゾーンとロケールの設定を変更しました。
# cd /var/www/laravel/
# nano config/app.php
- タイムゾーンを「Asia/Tokyo」、ロケールを「ja」に変更。
/*
|--------------------------------------------------------------------------
| Application Timezone
|--------------------------------------------------------------------------
|
| Here you may specify the default timezone for your application, which
| will be used by the PHP date and date-time functions. We have gone
| ahead and set this to a sensible default for you out of the box.
|
*/

'timezone' => 'Asia/Tokyo',

/*
|--------------------------------------------------------------------------
| Application Locale Configuration
|--------------------------------------------------------------------------
|
| The application locale determines the default locale that will be used
| by the translation service provider. You are free to set this value
| to any of the locales which will be supported by the application.
|
*/

'locale' => 'ja',
- タイムゾーンを「Asia/Tokyo」、ロケールを「ja」に変更。
◎データベースの設定
- phpMyAdminでデータベース「laravel」を照合順序「utf8_general_ci」で作成しました。
- エディタ(nano)で「config/database.php」に記載のデータベース設定を変更しました。
# nano config/database.php
- Database Connectionsの内容を作成したデータベースの内容に合わせて変更しました。
- ‘database’ => env(‘DB_DATABASE’, ‘forge’), // 作成したデータベース名(laravel)
- ‘username’ => env(‘DB_USERNAME’, ‘forge’), // ユーザー名(db_username)
- ‘password’ => env(‘DB_PASSWORD’, ”), // パスワード(db_password)
- ‘charset’ => ‘utf8mb4’, // ‘utf8’ に変更
- ‘collation’ => ‘utf8mb4_unicode_ci’, // ‘utf8_general_ci’ に変更
/*
|--------------------------------------------------------------------------
| Database Connections
|--------------------------------------------------------------------------
|
| Here are each of the database connections setup for your application.
| Of course, examples of configuring each database platform that is
| supported by Laravel is shown below to make development simple.
|
|
| All database work in Laravel is done through the PHP PDO facilities
| so make sure you have the driver for your particular database of
| choice installed on your machine before you begin development.
|
*/

    'mysql' => [
        'driver' => 'mysql',
        'url' => env('DATABASE_URL'),
        'host' => env('DB_HOST', '127.0.0.1'),
        'port' => env('DB_PORT', '3306'),
        'database' => env('DB_DATABASE', 'laravel'),
        'username' => env('DB_USERNAME', 'db_username'),
        'password' => env('DB_PASSWORD', 'db_password'),
        'unix_socket' => env('DB_SOCKET', ''),
        'charset' => 'utf8',
        'collation' => 'utf8_general_ci',
        'prefix' => '',
        'prefix_indexes' => true,
        'strict' => true,
        'engine' => null,
        'options' => extension_loaded('pdo_mysql') ? array_filter([
            PDO::MYSQL_ATTR_SSL_CA => env('MYSQL_ATTR_SSL_CA'),
        ]) : [],
    ],
- Database Connectionsの内容を作成したデータベースの内容に合わせて変更しました。
◎データベースの接続確認
- データベースの接続確認をするために「php artisan migrate」を実行しました。
# php artisan migrate
Migration table created successfully.
Migrating: 2014_10_12_000000_create_users_table
Migrated:  2014_10_12_000000_create_users_table
Migrating: 2014_10_12_100000_create_password_resets_table
Migrated:  2014_10_12_100000_create_password_resets_table
- phpMyAdminでデータベース「laravel」に「migrations」「password_resets」「users」という3つのテーブルが作成されたことを確認しました。
◎トップページの表示変更
- トップページを表示させている「routes/web.php」の記述を変更しました。
# nano routes/web.php
- return view()の’welcome’を’home’に変更。
/* コメントアウト
Route::get('/', function () {
    return view('welcome');
});
*/
Route::get('/', function () {
    return view('home');
});
- return view()の’welcome’を’home’に変更。
- 「resources/views」フォルダにある「welcome.blade.php」をコピーして「home.blade.php」を作成しました。
# cd resources/views/
# cp welcome.blade.php home.blade.php
#
- トップページを表示させている「home.blade.php」の記述を変更しました。
# nano home.blade.php
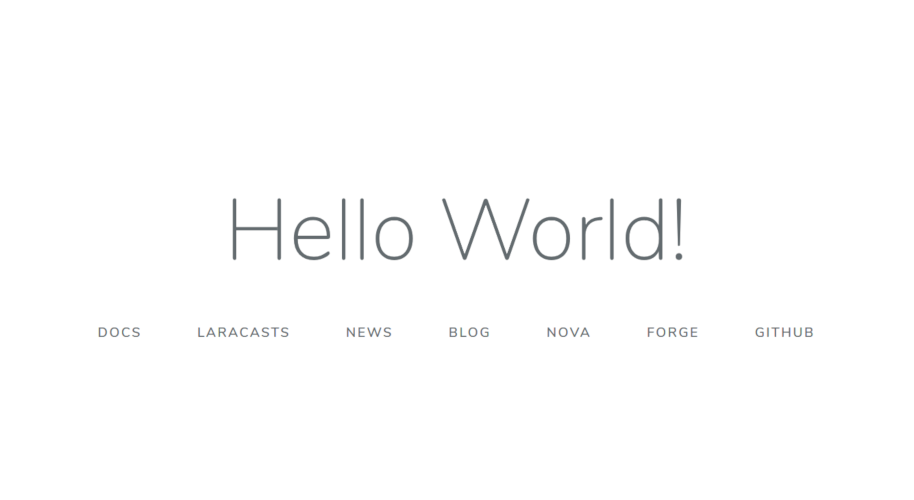
- 「Laravel」と表示している個所を「Hello World!」に変更。
<!-- コメントアウト
<div class="title m-b-md">
Laravel
</div>
-->
<div class="title m-b-md">
Hello World!
</div>
- 「Laravel」と表示している個所を「Hello World!」に変更。
-
「https://(サーバーのURL)/」にアクセスして、「Laravel」と表示している個所が「Hello World!」に変更されていることを確認し、Laravelのインストールと初期設定を完了しました。

| <= さくらVPSでphpMyAdmin | |